Summertime is the perfect season for pie making – so many sweet, ripe fruits to chose from, so many flavor combinations to dream up. The problem? The sweltering heat of summer can make anyone nervous about creating that infamous crust. But if you follow a simple procedure – this means planning ahead and giving your dough plenty of opportunities to rest – you will soon be turning out your very own picture perfect summer pies. And if you can nail the procedure of making a pie crust in the summer heat, you will be an old pro just in time for apple pie in the fall.
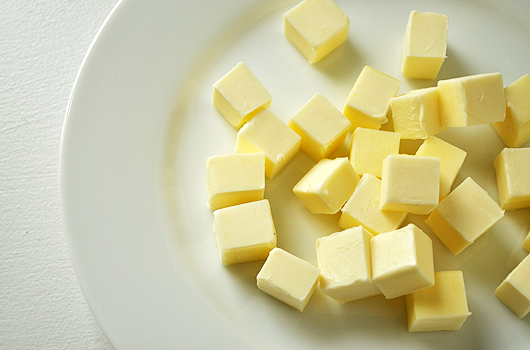
Cube your butter in 1-inch squares and portion out your shortening. Refrigerate your fats, along with your sifted dry ingredients, until all components are very cold. If I plan ahead, I like to refrigerate the ingredients for about an hour before combining everything. If I decide at the last minute to make pie, I freeze the components for about 20 minutes.
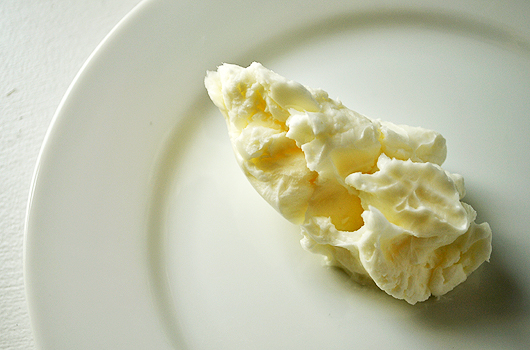
You might be skeptical of using shortening in your pie crust; you might even be tempted to replace the shortening with all butter. Don’t. You need both the butter and shortening – in equal portions – to achieve a perfectly flaky, flavorful pie crust. The butter provides the flavor and the shortening provides flakiness. If you replace one of the ingredients you will sacrifice either taste or flakiness in you final product.
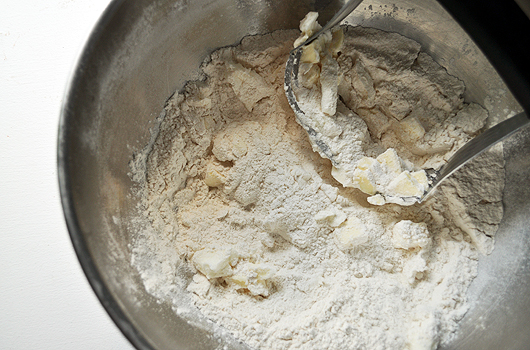
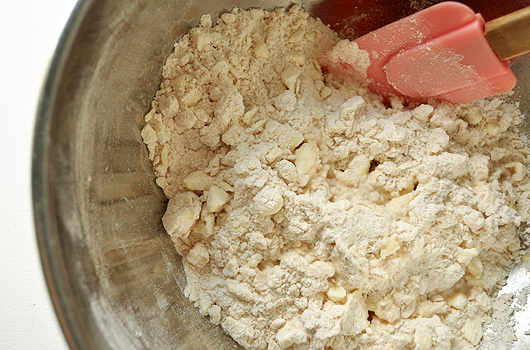
Once everything is very cold, it is time to cut the fats into the dry ingredients. The key here is to keep everything as cold as possible, so minimal contact with warm hands or surfaces is important. Using a food processor is ideal, but if you are a little short on counter space – like myself – make the small investment in a pastry cutter. Work the fats into the dry ingredients as quickly as possible, until mixture resembles a coarse meal – some of the fats should remain in pea-sized pieces. It is important to not work the fats into too small pieces; small chunks should still be visible – these chucks will later be rolled out into the dough and, eventually, create flaky, delicious air pockets while the crust is baking.
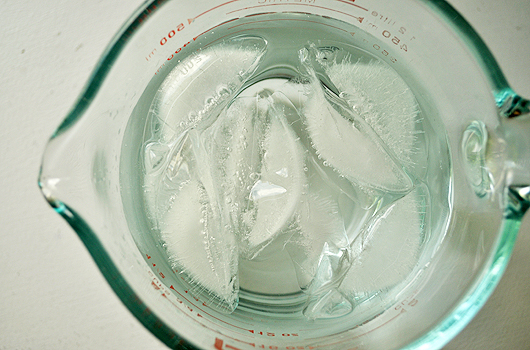
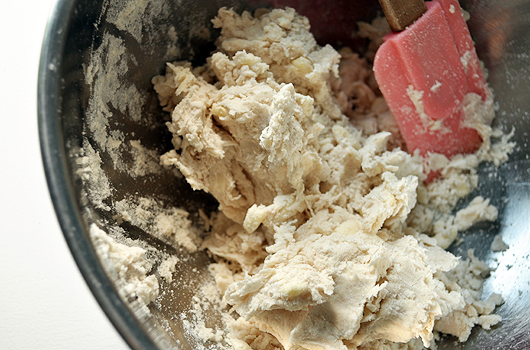
Now it’s time to form the mixture into dough. Add ice-cold water, one tablespoon at a time, into the mixture. Add the water just until a dough forms.
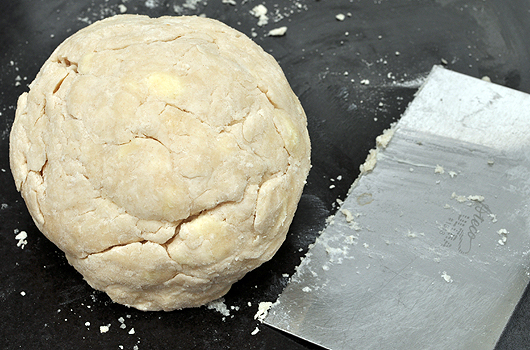
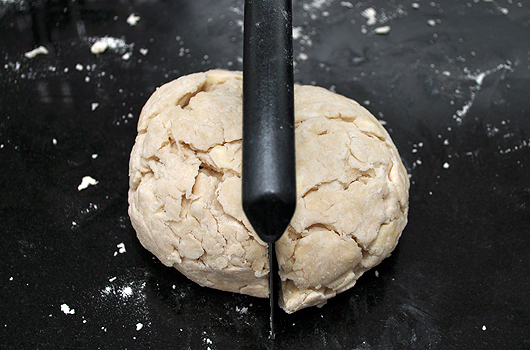
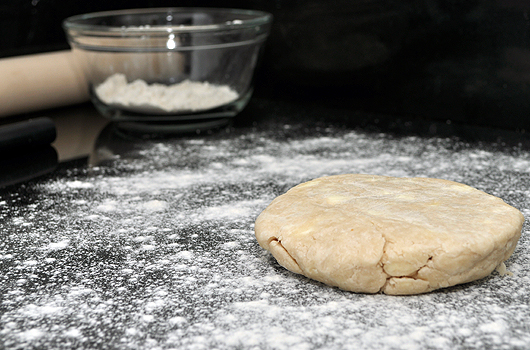
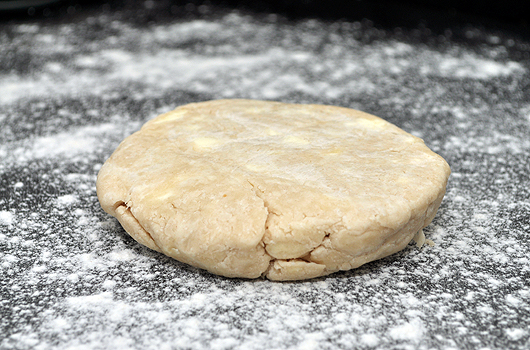
Turn the dough onto a lightly floured – and, if possible, cool – surface. Very quickly form the dough into a ball – again, we are looking for minimal contact with warm hands and surfaces. Divide the dough in half, form each half into a disc, about 1-inch thick, wrap with plastic wrap, and refrigerate until very cold, at least 2 hours or up to overnight. This resting period is very important – and usually one that is skipped during production. This period not only cools the dough and re-solidifies the fats, but it also allows the gluten in the flour to shorten. By allowing the dough to rest, you will make the rolling process – which seems to be the most feared – incredibly easy, as the dough will not keep pulling back to the center.
Once the dough is completely chilled, prepare your workspace with the standard items: a rolling pin, bench flour, and dough divider. I also find a large offset spatula to be very handy, especially in the warm summer months, for releasing any part of your rolled-out crust that may adhere to your work surface. In addition, a large pastry brush – I always reserve my large pastry brush only for dry items, such as flour – to remove excess flour from the crust.
Let’s talk for a moment about using flour on your work surface. I often find people try to use the minimal amount of flour while rolling out pastries, in fear of working too much back into the dough, and thereby making the end result too dry. In the end, they are usually frustrated that their rolling pin catches on the top of the crust or their crust breaks when trying to remove from the work surface into the pie pan.
Flour is your friend when it comes to rolling out pastries. As long as you allow your dough to chill fully before attempting to roll out your crust, you can quickly and easily roll out a beautiful crust on a well-floured work surface, incorporating very little extra flour. Any flour that does remain on the crust can easily be removed with your large pastry brush.
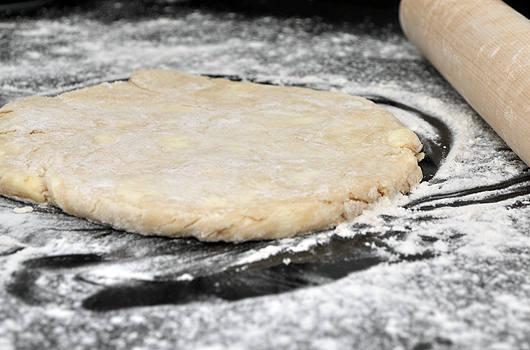
Flour your work surface. Remove one disc from the refrigerator, discard plastic wrap, and place disc on work surface. Sprinkle flour on top of disc, then lightly flour your rolling pin.
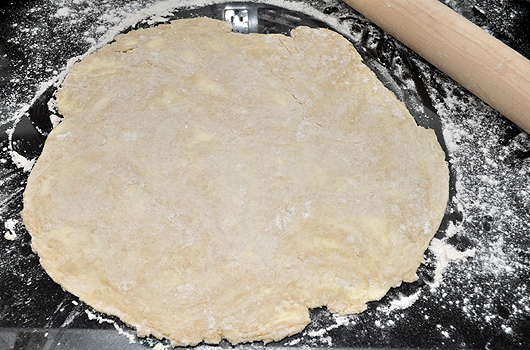
Roll from the center of the disc toward the edge in all directions. Lift and rotate the dough a quarter turn every few strokes and re-flour as needed to discourage sticking. If your dough is sticking at all to the work surface or the rolling pin, you need more flour! Continue this rolling and rotation pattern until you have achieved a large enough circle to fit into your pie pan – your circle should be 2 inches larger than your pie pan.
Now it is time to remove the excess flour from the surface of your crust. When the top is finished, begin lightly rolling the dough around your rolling pin, taking care to brush excess flour from the bottom of the crust as well.
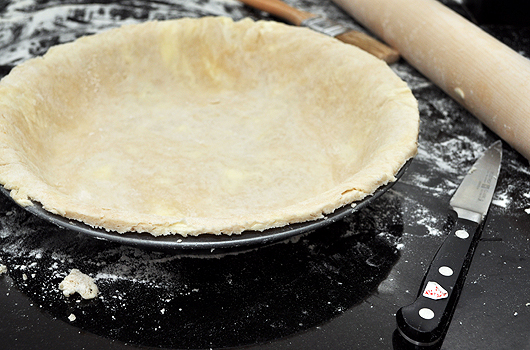
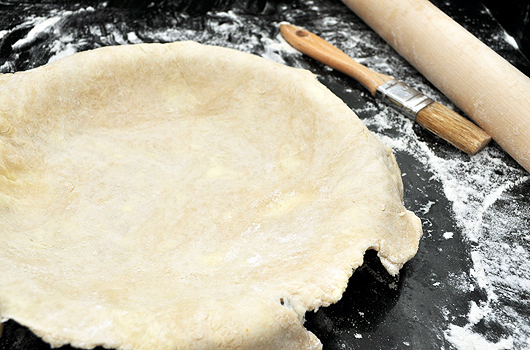
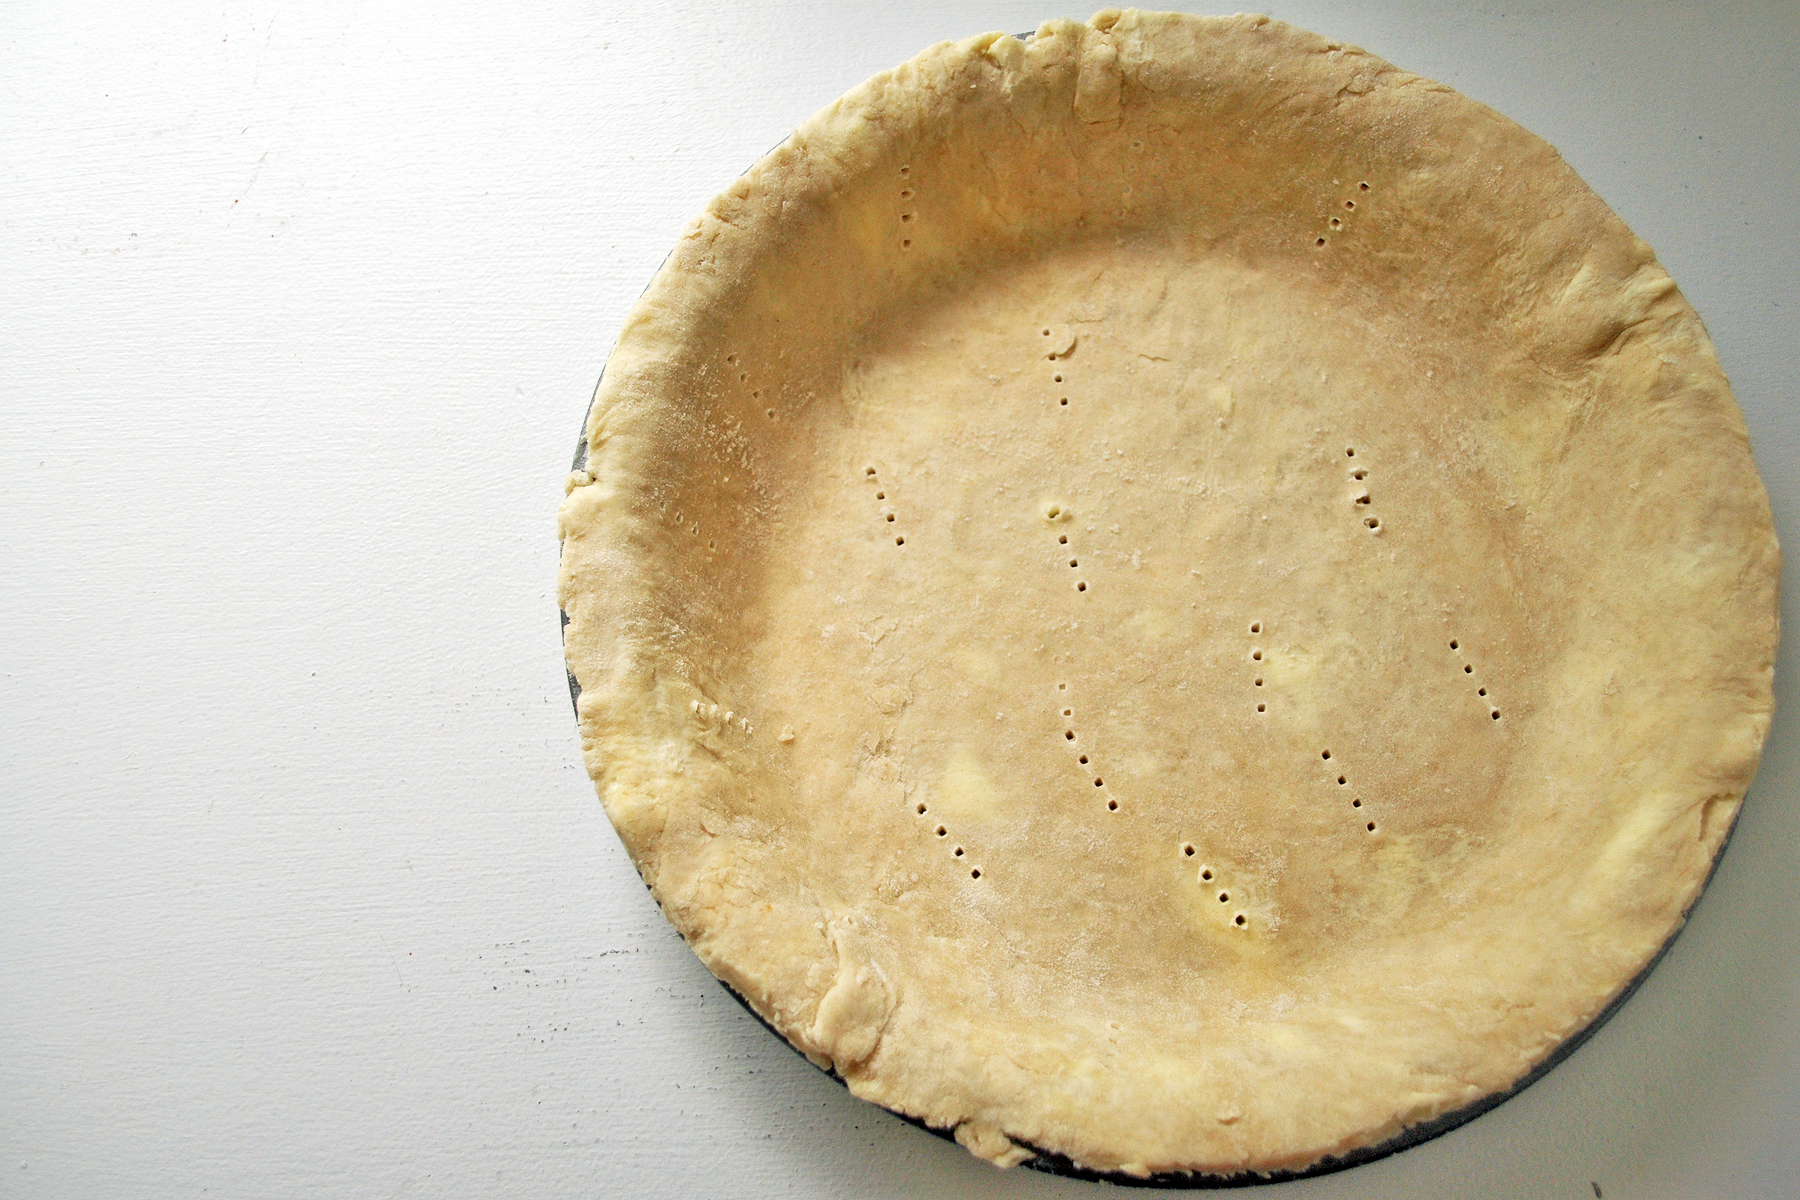
Quickly transfer the dough to your pie pan. If necessary, adjust placement to ensure pan is evenly covered. Trim overhanging dough with a very sharp pairing knife. Dock – spear the crust with a fork in various places; this will allow air to escape and crust to bake evenly.
From here, you have several options of how to bake your pie crust, depending on what your recipe instructs. Follow the method in the instructions below to bake your perfect crust!
Pie Crust
makes 2 crusts
2 cups all-purpose flour
½ teaspoon table salt
½ teaspoon baking powder
1/3 cup unsalted butter, cubed and chilled
1/3 cup shortening
In a medium mixing bowl, sift together flour, baking powder, and salt. Chill. Cube your butter in 1-inch squares and portion out your shortening. Refrigerate your fats, along with your sifted dry ingredients, until all components are very cold, about 1 hour.
Once everything is very cold, it is time to cut the fats into the dry ingredients. The key here is to keep everything as cold as possible, so minimal contact with warm hands or surfaces is important. Using a food processor is ideal, but if you are a little short on counter space – like myself – make the small investment in a pastry cutter. Work the fats into the dry ingredients as quickly as possible, until mixture resembles a coarse meal – some of the fats should remain in pea-sized pieces.
Now it’s time to form the mixture into dough. Add ice-cold water, one tablespoon at a time, into the mixture. Add the water just until a dough forms.
Turn the dough onto a lightly floured surface. Very quickly form the dough into a ball – again, we are looking for minimal contact with warm hands and surfaces. Divide the dough in half, form each half into a disc, about 1-inch thick, wrap with plastic wrap, and refrigerate until very cold, at least 2 hours or up to overnight.
When your dough is properly chilled, flour your work surface. Remove one disc from the refrigerator, discard plastic wrap, and place disc on work surface. Sprinkle flour on top of disc, then lightly flour your rolling pin.
Roll from the center of the disc toward the edge in all directions. Lift and rotate the dough a quarter turn every few strokes and re-flour as needed to discourage sticking. If your dough is sticking at all to the work surface or the rolling pin, you need more flour! Continue this rolling and rotation pattern until you have achieved a large enough circle to fit into your pie pan – your circle should be 2 inches larger than your pie pan.
Now it is time to remove the excess flour from the surface of your crust. When the top is finished, begin lightly rolling the dough around your rolling pin, taking care to brush excess flour from the bottom of the crust as well. Quickly transfer the dough to your pie pan. If necessary, adjust placement to ensure pan is evenly covered. Trim overhanging dough with a very sharp pairing knife. Dock – spear the crust with a fork in various places; this will allow air to escape and crust to bake evenly.
For recipes that call for unbaked shells: refrigerate until ready to use. If refrigerating overnight, cover the shell with plastic wrap.
For recipes that call for a partially baked shell: Chill the shell until firm, 30 minutes to 1 hour. Preheat the oven to 375 degrees. Line the shell with parchment paper and fill with pie weights. Bake until the surface looks dry and pale, about 20 minutes. Remove from the oven and remove paper and weights. Return the shell to the oven; bake a few minutes longer. The partially baked shell will keep, well wrapped, in the refrigerator for up to 1 week or in the freezer for up to 2 weeks.
For recipes that call for a fully baked shell: Chill the shell until firm, 30 minutes to 1 hour. Preheat the oven to 375 degrees. Line the shell with parchment paper and fill with pie weights. Bake until the surface looks dry and pale, about 25 minutes. Remove from the oven and remove paper and weights. Return the shell to the oven; bake until golden brown, about 5 minutes longer. Let shell cool completely on wire rack before filling. The fully baked shell will keep, well wrapped, in the refrigerator for up to 1 week or in the freezer for up to 2 weeks.
For later use: Wrap shells tightly and freeze for up to 2 weeks. It is not necessary to thaw before baking.




What a perfect pie crust!
ReplyDelete