

Ricotta cheese has never been a favorite of mine. Perhaps my distaste results from calzones stuffed with incredibly unhealthy amounts of watery, flavorless amounts of this cheese.
As such, I have always steered away from using ricotta as a star ingredient in any of my savory dishes and especially not in any of my sweet desserts.


But my strike against ricotta came to a fateful end at a cozy restaurant in Italy, where Mike and I shared our first non-airline, non-airport food in a long 20 hours. Being in Italy, we chose to indulge in pizza - I chose margarita and Mike chose ricotta with sausage.


After our first few bites, we cut off a slice to exchange with each other. I tentatively took a bite of the ricotta-sausage pizza, hoping to be able to keep down the rubbery, flavorless ricotta on a mostly empty stomach.
But the flavor and texture of the ricotta was shocking. "It's so pillow-y! It's...it's like clouds!" I exclaimed, as the supermodel-esque table next to us glanced over from their salads, annoyed.
Mike agreed with a nod and silent smile.
So yesterday, less than a week back in the states and both of us missing the pace of vacation, I decided to try my hand at making this delicious homemade ricotta.
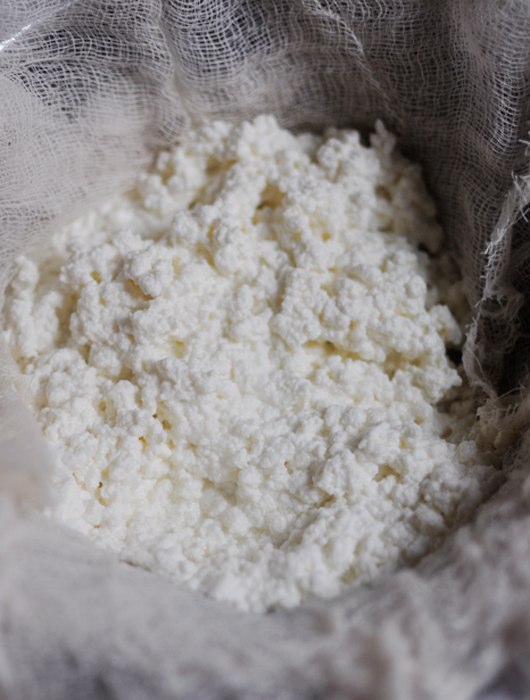
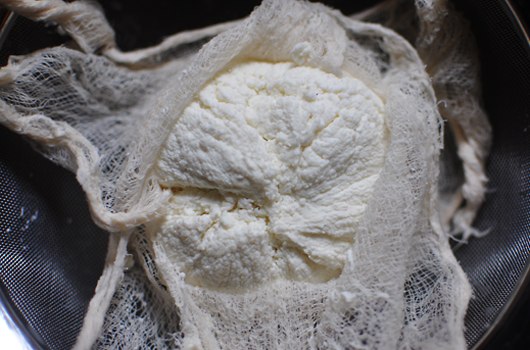
The process is surprisingly simple for such a perfect reward. A word to the wise: do not squeeze all of the water out of the curds. They should retain a level of moisture in order to achieve that "pillow-y" texture.
I have been officially converted to the taste of ricotta, although snobbishly only to the homemade varietal. So if you are also on the fence about the taste and texture of pre-made ricotta, I urge you to try this recipe. Treat yourself and your taste buds!
Homemade Ricotta
makes 2 cups
Ingredients
2 quarts whole milk
2 cups buttermilk
Preparation Instructions
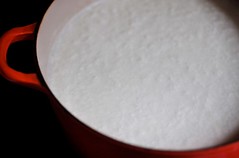
Combine both milks into a large nonreactive saucepan over medium high heat, preferably a thick-bottomed pan if you have one. You will need to stir occasionally, scraping the pan bottom, to avoid scorching. Once the milk is hot, stop stirring. You will start to see curds rise and come to the surface. Run a spoon or spatula along the bottom of the pan occasionally to free up any stuck curds.
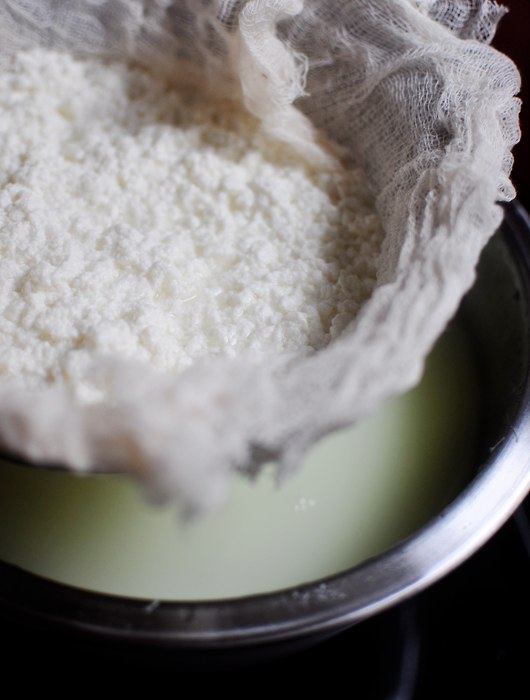
While the milk is heating, select a sieve or colander with a wide surface area. This will help your curds cook more quickly. Line the colander with a large piece of cheesecloth that has been folded numerous times - until you have about 5 or six layers. Place the lined colander over a large bowl or sink.
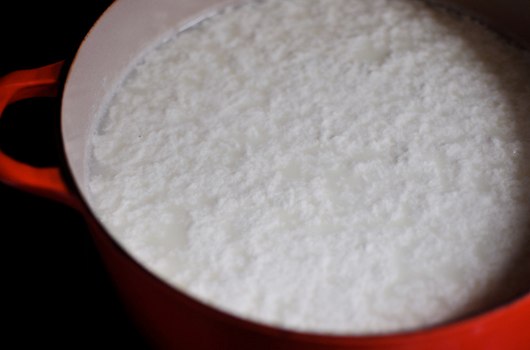
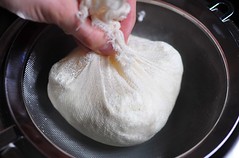
When the mixture reaches about 175F degrees, you will see the curds and whey separate. The curds are the clumpy white mass. Now, remove the pan from heat, and gently begin to ladle curds into the prepared sieve.
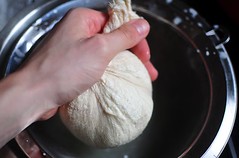
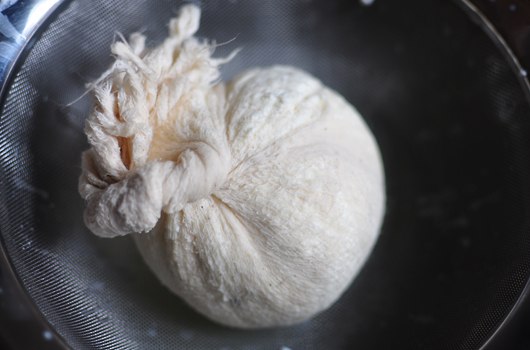
Pull up on the sides of the cheesecloth to drain off any extra liquid, but resist pressing on the curds. Gather the edges of the cloth, tie or fasten them into a knot and allow them to drain for another 15 minutes minimum. Move to an airtight container and refrigerate if you aren't going to use it immediately.


I have almost a full gallon of whole milk leftover after making cinnamon ice cream last night -- a delicious cheese recipe to the rescue!
ReplyDeleteCheers,
*Heather*
Happy to help Whitney! P.S. I love cinnamon ice cream. Absolutely amazing with apple pie!
ReplyDelete